|
Step 1:
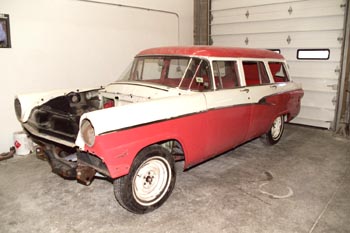
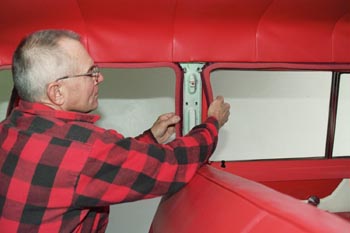
The first step in this three-point safety belt installation is to
remove the "B" pillar's interior panel and wind lace. |
|
Step 2:
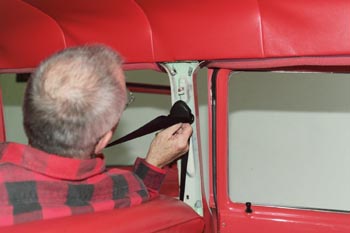
Next is to find the location of the pivot bracket. It has to be above
the shoulder (when seated), and in a spot where the "B" pillar bracket
can be mounted. |
|
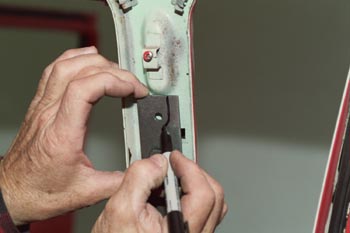
Step 3:
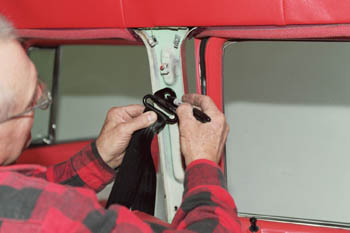
Some cars have access holes in the pillar that makes it easy to slide
the bracket into. In this case the bracket has to be welded to the
outside of the inner pillar panel. With a marker, mark the spot where
the bracket "pivot bolt" hole has to be drilled. |
|
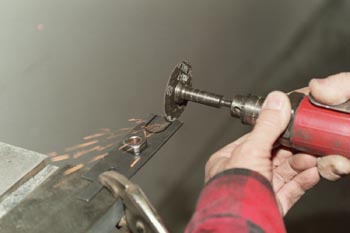
Step 4:
Hold the bracket nut up to your mark. If there's anything that's going
to prevent the bracket from fitting flat against the pillar panel, then
either the bracket, or the panel has to be modified. In this case, we
decided to make the bracket fit the panel. |
|
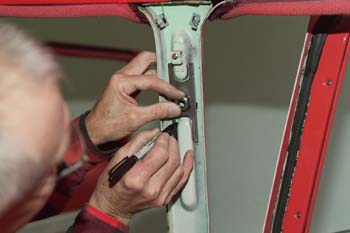
Step 5:
After marking the bracket, we used a die cutter to notch out the upper
and lower sections of the pillar bracket. |
|
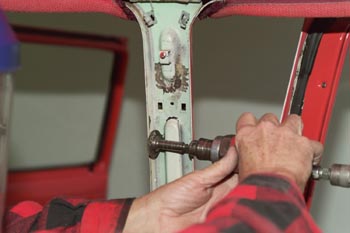
Step 6:
Next, trace out the bracket on the pillar so you know where to grind
off the paint for a clean weld.
|
|
Step 7:
You can use a grinder or sand paper to scrape off the paint, but make
sure it's free of paint, rust, or grease
. |
|
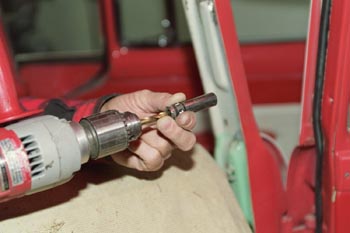
Step 8:
Now its time to drill out the hole for the bracket nut (the mark you
made in step 4). Start with a 1/8" or 1/4" drill bit and work your way
up to 3/4". In this photo you'll see we put a socket over the drill
bit, to prevent the bit from hitting and denting the outer panel. |
|
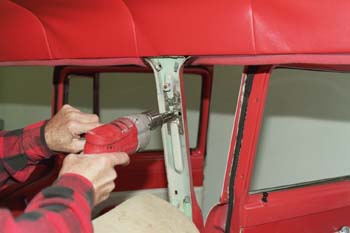
Step 9:
Double check pivot bracket mark, and drill slowly, don't force the bit
through. |
|
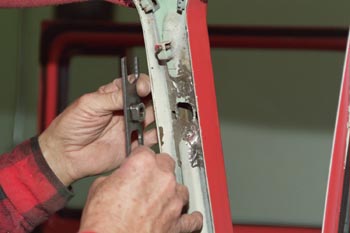
Step 10:
After drilling, use a file to square up the hole so the bracket nut
fits inside. The nut must face toward the outside of the car in order
for it to work correctly. |
|
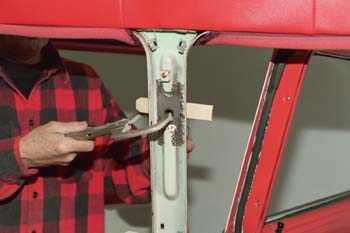
Step 11:
Then with a piece of wood to protect the outer pillar panel, and clamp
the pivot bolt bracket in place. |
|
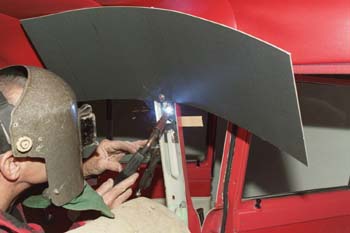
Step 12:
Protect the interior with welding blankets, and weld the bracket in
place.
|
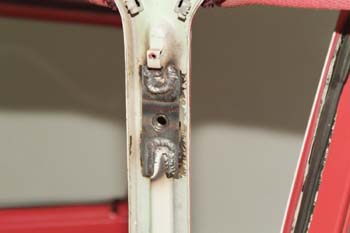 |
Step 13:
Wire brush the weld and apply a primer or paint to protect the area
from rusting. |
|
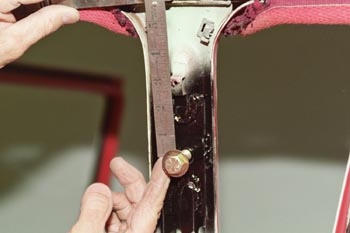
Step 14:
To locate the hole that will have to be drilled in the interior panel,
measure from the center of the pivot bolt to the upper interior panel
mounting screw bracket. We used a longer bolt then what is supplied in
the hardware kit, with a spacer, to allow the belt bracket to pivot
without rubbing against the interior panel. Also make sure the bolt is
not too long and bottoming out on the outer pillar panel..
|
|
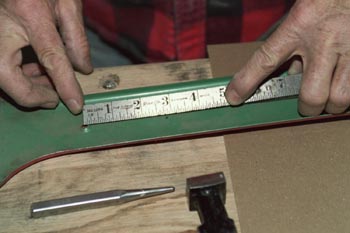
Step 15:
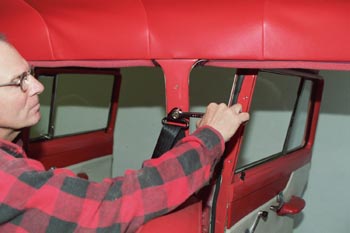
Transfer that measurement to the inner interior panel and mark it.
Next, center punch the mark and drill out to a 9/16" hole.
|
|
Step 16:
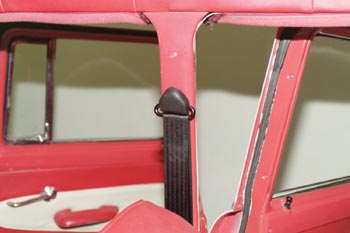
Install the interior panel, and bolt the pivot bracket in place tight.
The bracket should pivot freely and not rub against the interior panel. |
|
Step 17:
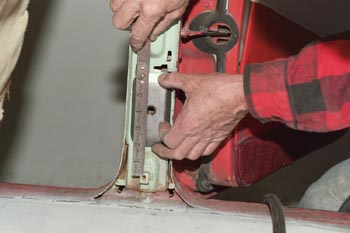
To be sure nothing is rubbing also install the plastic bracket cover. |
|
Step 18:
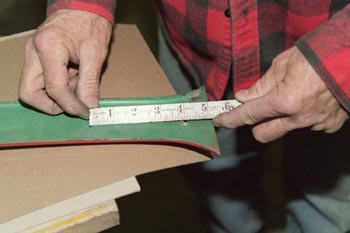
The lower section, (the retractor) can be mounted on the floor using
an "L" bracket/anchor plate combination, or on the lower "B" pillar
area. In this case we welded an anchor plate to the inner pillar. Again
measure from the interior panel screw bracket, to the center of the
anchor plate nut, to find the location of the hole to be drilled in the
interior panel. |
|
Step 19:
Transfer the measurement to the interior panel, mark it, and drill out
to a 9/16" hole. Using the same process, mark and drill a 9/16" hole in
the inner "B" pillar panel. |
|
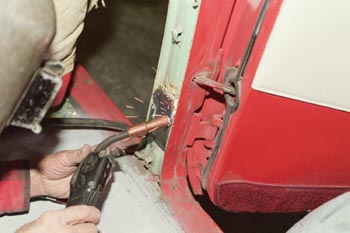
Step 20:
Place the anchor plate nut (with the nut facing to the outside of the
car), over the hole, mark the pillar panel where you're going to weld
the
anchor plate in, and clean that area of paint, rust and grease. Put the
anchor plate back in place and weld it in. |
|
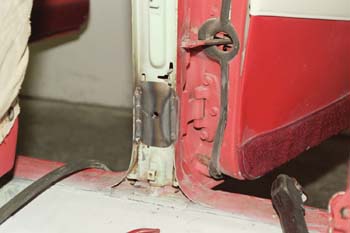
Step 21:
When finished, the anchor plate should look like this, with the nut to
the inside of the pillar. Clean, prime, or paint to prevent from
rusting. |
|
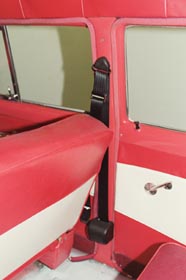
Step 22:
With everything bolted back in place, the retractor and pivot bracket
assembly should look like this. |
|
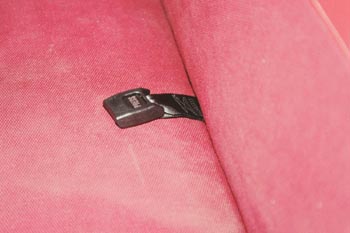
Step 23:
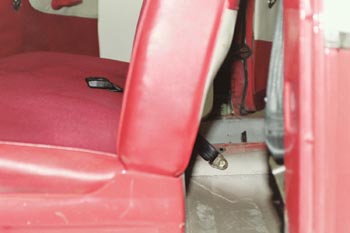
Next we'll install the buckle arm. For a bench seat you'll need what's
called a "soft arm belt". With bucket seats, you'll need a "stiff arm
belt". Keep this in mind when ordering your safety belts. With the
bench seat installation, position the seat all the way forward. Slide
the belt in between the cushion and back rest, with about three inches
of the buckle arm showing. |
|
Step 24:
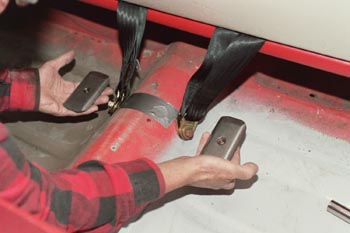
The belt should be long enough to bolt to the drive shaft tunnel, at a
point where the seat is all the way back. Get this measurement before
placing your order, because the buckle arms come in different lengths. |
|
Step 25:
Mark the location on the side of the tunnel, then take a look under the
car to make sure there's room for the anchor plate, and that you're not
drilling through anything other than the floor pan. If all is clear,
drill out to a 7/16" hole. Note, that in this installation, we also
added in lap belts for a third person. They can go into the same holes
with washers to space them out. |

|
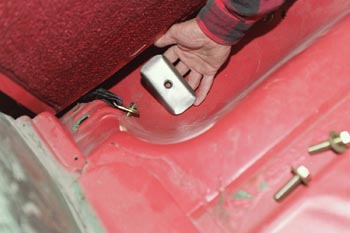
Step 26:
With everything bolted in tight, and the same installation done on the
other side of the car, were ready to go to the back seat to install lap
belts for three people.
. |
|
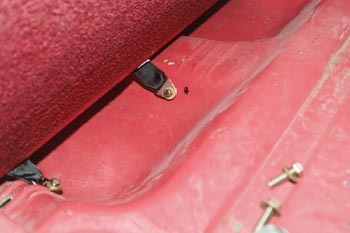
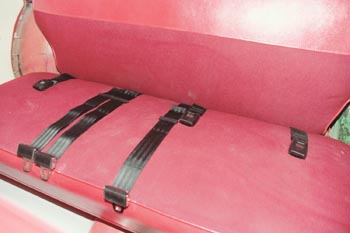
Step 27:
Using the same order on installation, the back seat should be a snap!
Keep in mind that you have to have room for the anchor plate and the
floor is strong in that area. It may be necessary to trim the anchor
plat to fit, but the more plate you have the stronger the mount will
be. This photo shows the mounting location of the outer buckle arm belt. |
|
Step 28:
Same order of installation in the back drive shaft tunnel mount, as in
the front. The only difference is you have to watch out where you mount
the anchor plate, because of the up and down movement of the
differential. |
|
Step 29:
Repeat the same installation on the other side, add the center third
person belt, tighten all bolts and the installation is complete! |
