|
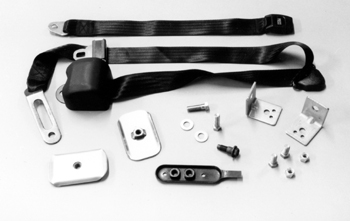
Here
is a picture of the
complete kit that we will be installing in the truck. As you can see,
it comes with all the hardware that you will need in the installation. |
|
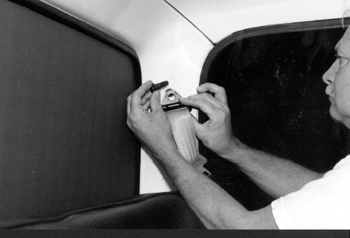
Step
1:
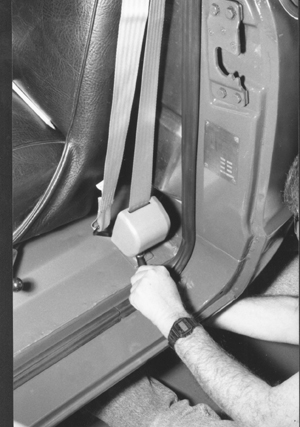
The shoulder part of the three point belt will bolt in te hole that
your old belts bolted to. Just bolt on the new belt. |
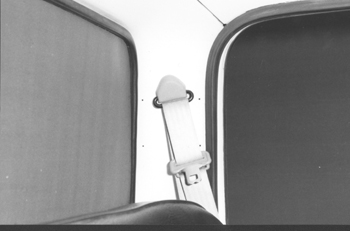 |
Step
2:
The shoulder portion of the belt is all bolted in. |
|
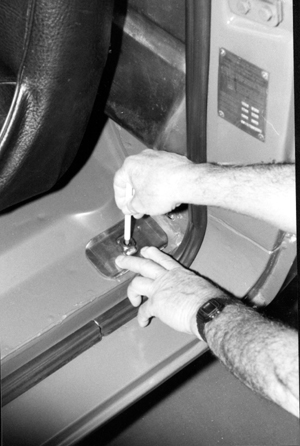
Step
3:
Here we have set the anchor plate on the floor marking the hole that we
will have to drill. The plate is just put there to mark, once the hole
is drilled the plate will bolt to the bottom of the floor. |
|
Step
4:
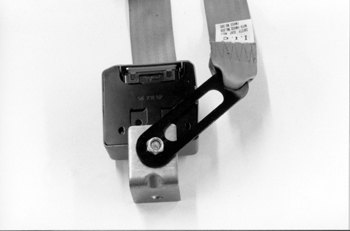
Now that we marked and drilled the hole for the L bracket and retractor
we can bolt it all in. |
|
Step
5:
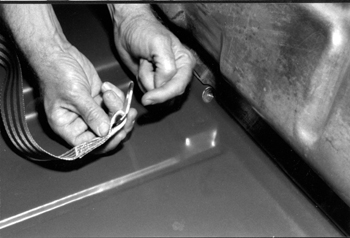
Make sure to bolt the other end (black oval shaped bracket) to the L
bracket as well. Of course it will be in the car at the time.
|
|
Step
6:
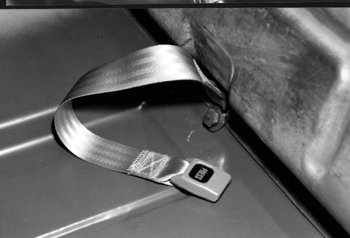
It is time now to bolt in the fixed portion of the belt. Just like the
shoulder part of the belt we are using the existing mounts. |
|
Step
7:
The fixed part is all bolted in. |
|
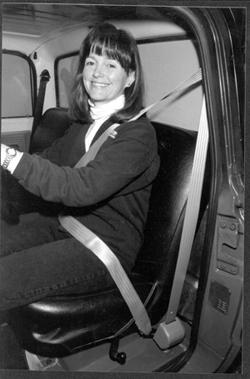
You
have successfully installed seat belts in your car! Now you can
take the whole family out and feel safe about it. |