|
Step
1:
The 1970 Mustang had a seat belt with a shoulder harness. It was a
little different then what we think of as a shoulder harness seat belt.
The 3pt shoulder harness seat belts that we are installing are D. O. T.
approved.
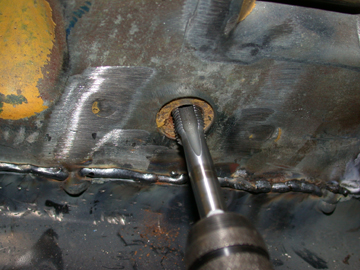
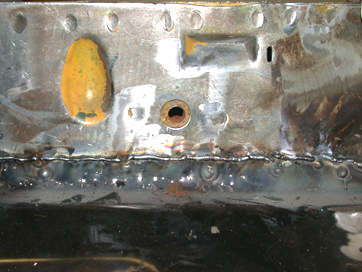
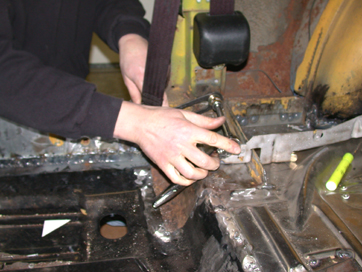
You may find as we did that you need to clean out the threads. The seat
belt mounting points have become rusted-up over the years. The tap is a
7/16" fine thread for the floor mounts & 3/8" coarse thread for
the shoulder point. |
|
Step
2:
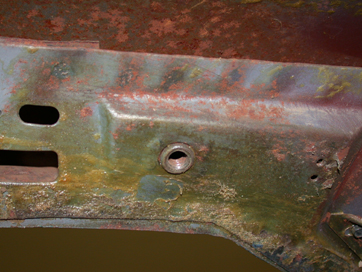
The shoulder mount and the fixed side are being mounted the same way as
the regular install. Just unbolt the old belt, and clean the threads if
needed. |
|
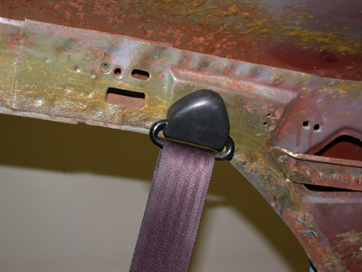
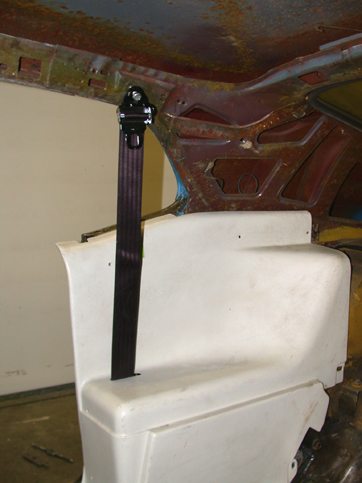
Step
3:
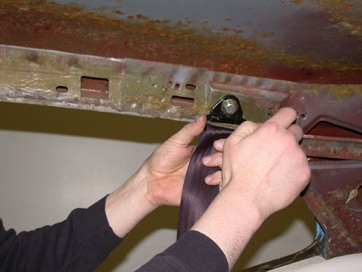
The shoulder part of the Juliano's seat belt gets bolted into place. We
are using the same exact location as the stock belt without any
modification. The special shoulder bolt that comes in the hardware kit
allows this point to pivot even with the bolt extremely tight. |
|
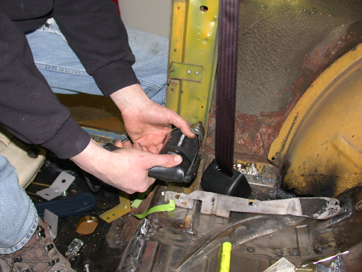
Step
4:
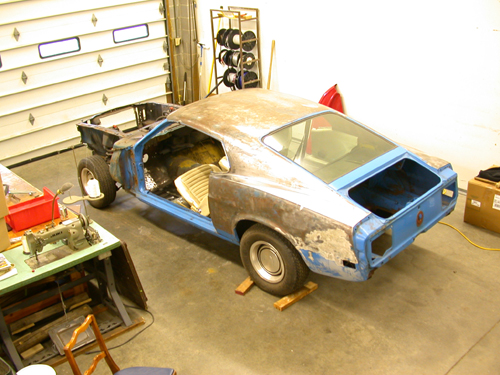
With that tight, the plastic piece snaps into place. This seat belt
install is taking place in the middle of a full restoration so that is
why the interior is completely removed. When you are mounting
to stock locations, you would not have to remove any interior pieces.
We will have to remove some interior components when we mount the
retractor and end bracket during the custom installation. |
|
Step
5:
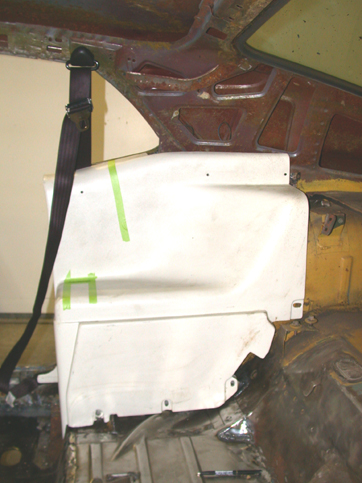
The mounting location we used to mount the retractor and end bracket on
the basic install will not get used in this installation. We usually
say to use the stock mounting location if you can, but in this case we
want to open up access to the rear seat and keep the retractor out of
eye sight. |

|
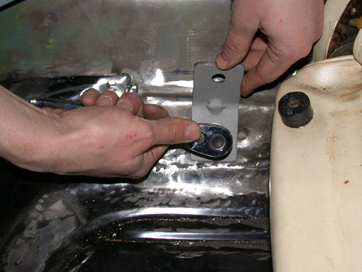
Step
6:
Here is the special bracket that we are using for this custom install.
Toby is using a marker to mark where he needs to drill. The small holes
are used to bolt the bracket to the car. The large holes are going to
be the new mounting locations for the retractor and end bracket. The
retractor will get bolted to the top one and the end bracket will get
bolted to the bottom. If you are going to install your belts like this
in a 70 Mustang, you will need to order the custom installation
hardware kit.
|
|
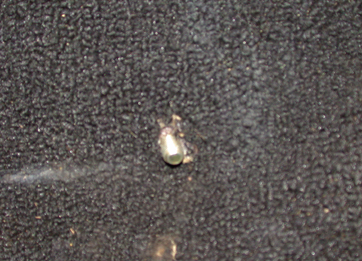
Step
7:
With all the holes marked its time to drill.
|
|
Step
8:
The bracket is bolted in place and ready to go. We choose to bolt the
bracket in place, but you can also weld it in.
|
|
Step
9:
The retractor is mounted and the end bracket is bolted in place. With
these two tight, you can figure out where to cut the interior panel for
the belt to exit out of it.
|
|
Step
10:
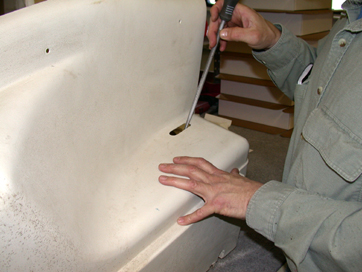
We put the interior panel into place so we can line up about where its
going to come out. We want to make the hole in the right place so the
belt doesn't rub on it as it goes in and out.
|
|
Step
11:
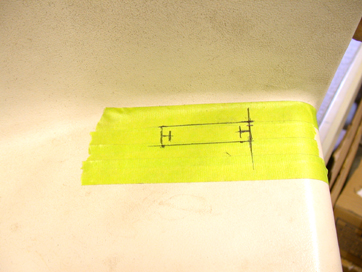
We put tape down and draw the opening we want. The tape helps reduce
chipping and also gives us a guide to cut on
|
|
Step
12:
With that cut out, we use a file to do the finishing touches.
|
|
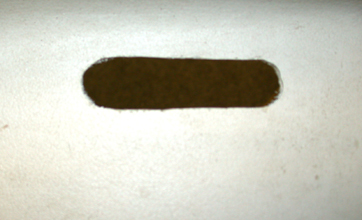
Step
13:
As you can see it came out great. The opening has to be large enough to
fit the buckle out of. When you put it together for the first time you
have to run the buckle and shoulder mounting point through this hole.
The hole we have here was more than enough to do the trick.
|
|
Step
14:
Once you’re done with that, unbolt the shoulder part and the end
bracket of the belt. Feed the buckle, shoulder bracket, and the
mounting point through the hole and bolt it back into place. You may
need to set the panel in place to get the correct angle on the end
bracket before tightening it down since this part will stick out of the
bottom front corner of the panel.
This is a very slick way to get the job done and it looks better than
having the retractor right in the middle of everything.
|
|
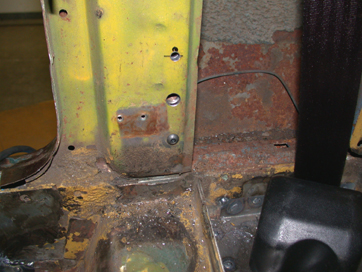
Step
15:
Here is our bracket being bolted to the stock seat belt location. This
is located on the drive shaft tunnel. This bracket is going to allow us
to have the stiff arm part of the belt exactly where it needs to be.
|
|
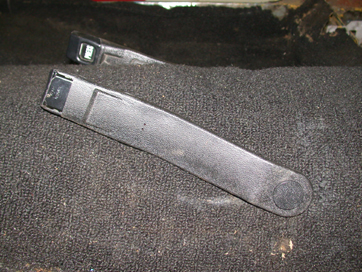
Step
16:
We are showing you this part with the carpet in so you can see how
clean it looks once it's all together.
|
|
Step
17:
Here is the stiff arm bolted in. With all of the trim pieces and
interior panels installed the custom installation looks great. It's a
very clean look these belts look great and are made of very strong
materials. All of the bolts in our hardware kit are grade 8. Make sure
to tighten all bolts very tight.
|

|
The installation we just
performed is not any different then
the basic install in terms of safety. Looks and accessibility to the
back seat
is the only reason we wanted to install it differently. If you don't
want to
make these modifications for whatever reason, the basic install is just
as
good.
Click
Here To View
The Stock Installation |