|
Step
1:
The 1970 Mustang had a seat belt with a shoulder harness. It was a
little different then what we think of as a shoulder harness seat belt.
The 3pt shoulder harness seat belts that we are installing are D. O. T.
approved.
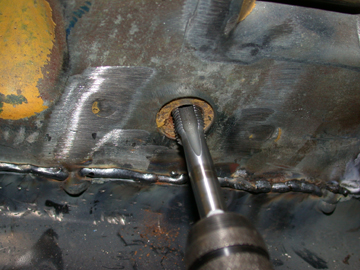
You may find as we did that you need to clean out the threads. The seat
belt mounting points have become rusted-up over the years. The tap is a
7/16" fine thread for the floor mounts & 3/8" coarse thread for
the shoulder point. |
|
Step
2:
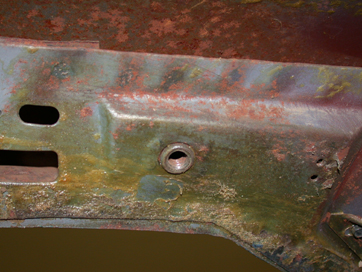
This is the shoulder mounting point on the Mustang. It is above and
slightly in front of the B pillar. |
|
Step
3:
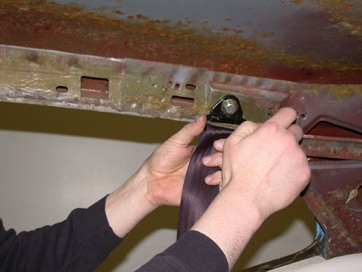
The shoulder part of the Juliano's seat belt gets bolted into place. We
are using the same exact location as the stock belt without any
modification. The special shoulder bolt that comes in the hardware kit
allows this point to pivot even with the bolt extremely tight.
|
|
Step
4:
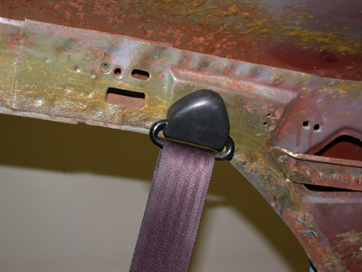
With that tight, the plastic piece snaps into place. This seat belt
install is taking place in the middle of a full restoration, that is
why the interior is completely removed. You can do this installation
with the interior in the car because we are using the stock mounting
location. |
|
Step
5:
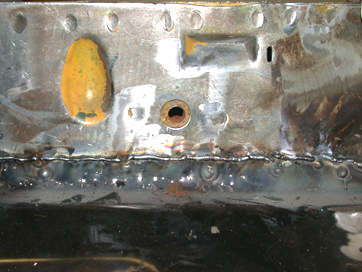
This is the stock mounting point for the retractor. This is located
just slightly above the floor directly below the shoulder mounting
point. The lower mounting locations are more likely to be rusted. Even
if the top mount was good, run a tap through the bottom mounts.
|
|
Step
6:
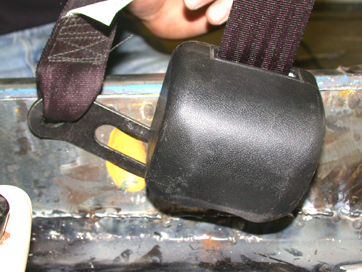
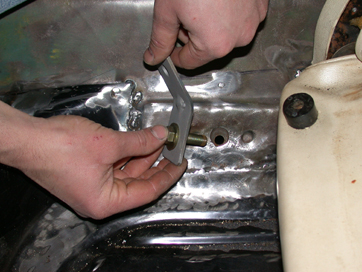
The retractor and the end bracket get bolted to this location. The end
bracket being bolted with or below the retractor is very important.
That will be the portion of the belt that will lay across your lap. |
|
Step
7:
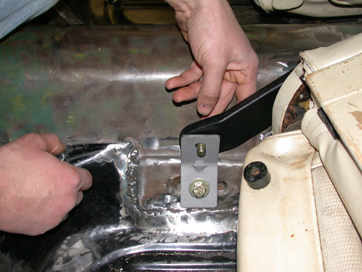
With that end buttoned up, it’s time to secure the fixed part of our
belt. There are bucket seats in this car so we got the stiff fixed arm.
This worked well with our seats. Again we are mounting to the stock
location with no modification. |
|
Step
8:
Here is the stiff arm getting bolted to the bracket that we just put
on. All of the bolts in our hardware kit are grade 8. Make sure to
tighten all bolts very tight. |
|
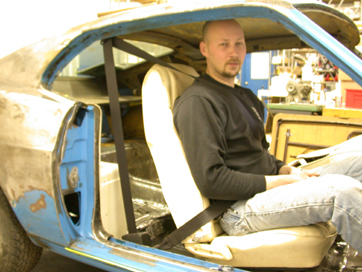
Step
9:
Here we are completely finished with our seat belt installation. |
|
The installation we just
performed was the easiest way to do
it. We utilized all of the stock mounting points and it looks great.
There are
many different ways of installing our belts. Click
here to view our
custom
installation which hides the retractor behind the interior panel and
improves
access to the back seat.
|
Click
Here To View
The Custom Installation |