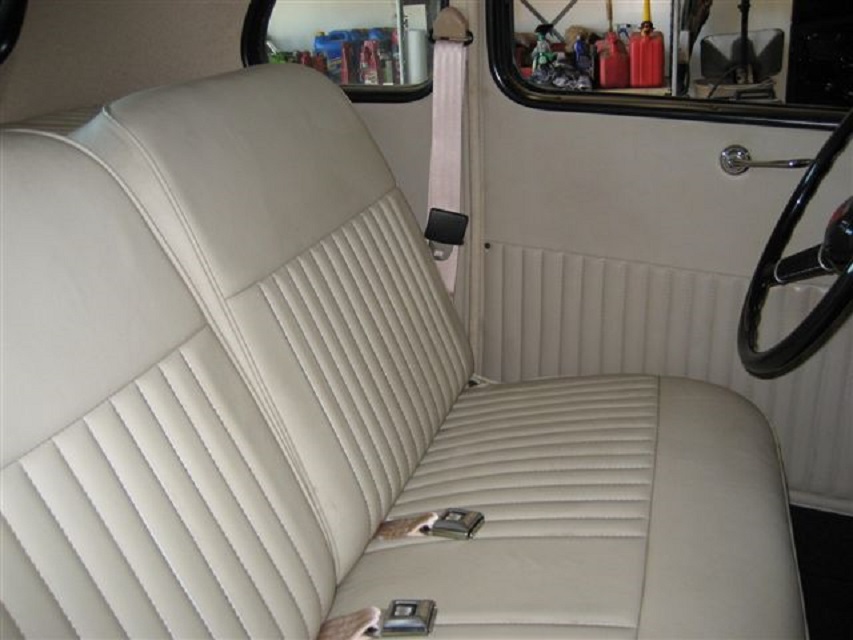
If your in
the habit of using the shoulder harness in your everyday car or truck,
you should be in
your street rod too! This install will show how easy it is to install a
3 point shoulder belt in a 1935 - 1940 Ford car.
|
|
We start by removing the seat,
interior
upholstery, and anything else that may be in the way for the
installation. You may not need to do this, but it does make it
easier.
|
|
|
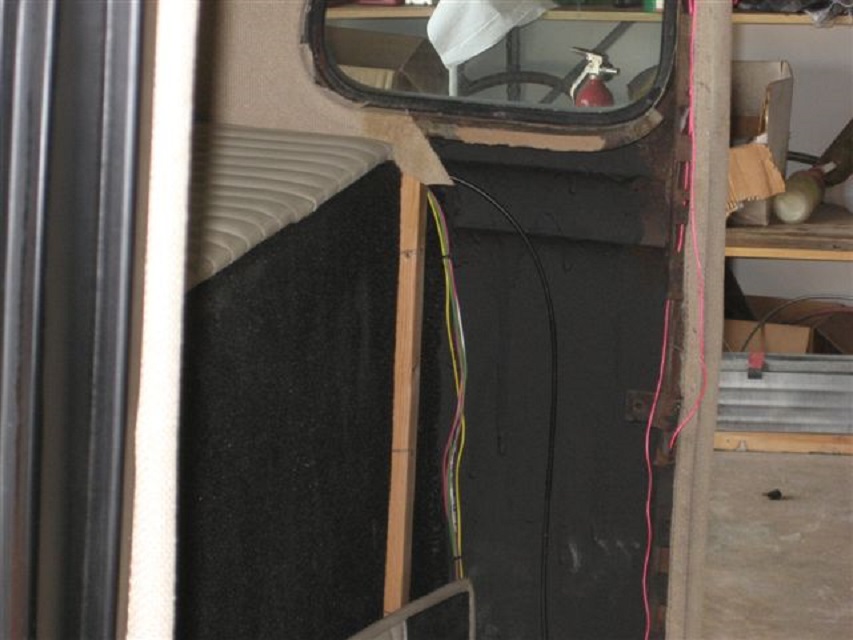
Next feed a piece of string down
the pillar
through the hole that is located about halfway up the quarter window.
|
|
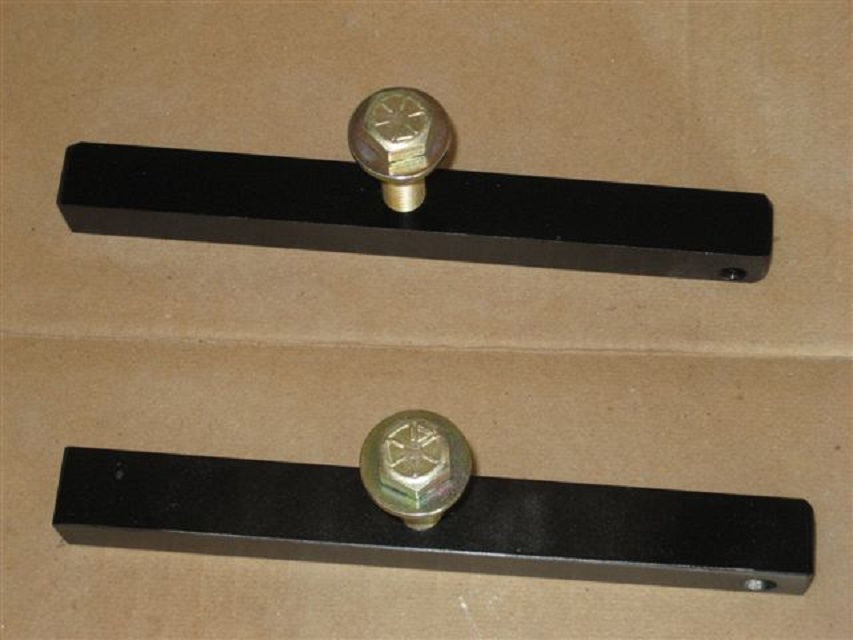
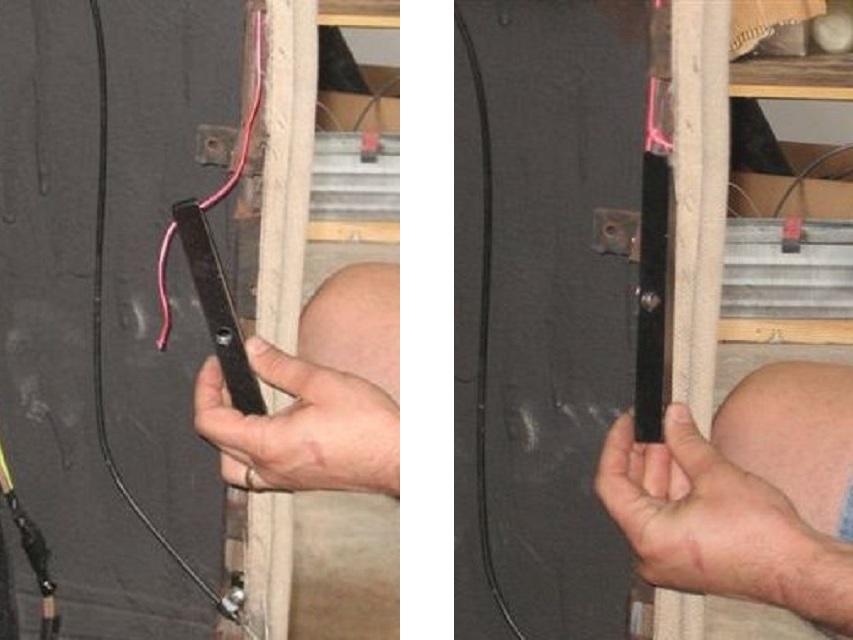
These are the custom designed
mounts
that will be installed in the pillar to mount the shoulder point.
|
|
|
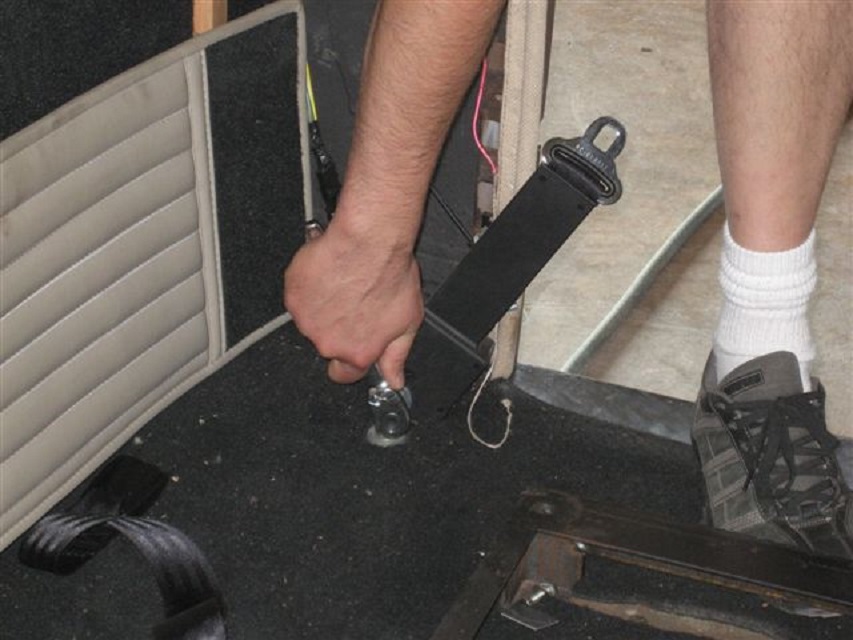
Feed the lower end of the string
through
the hole at the top of the mount and tie a knot to form a loop.
|
|
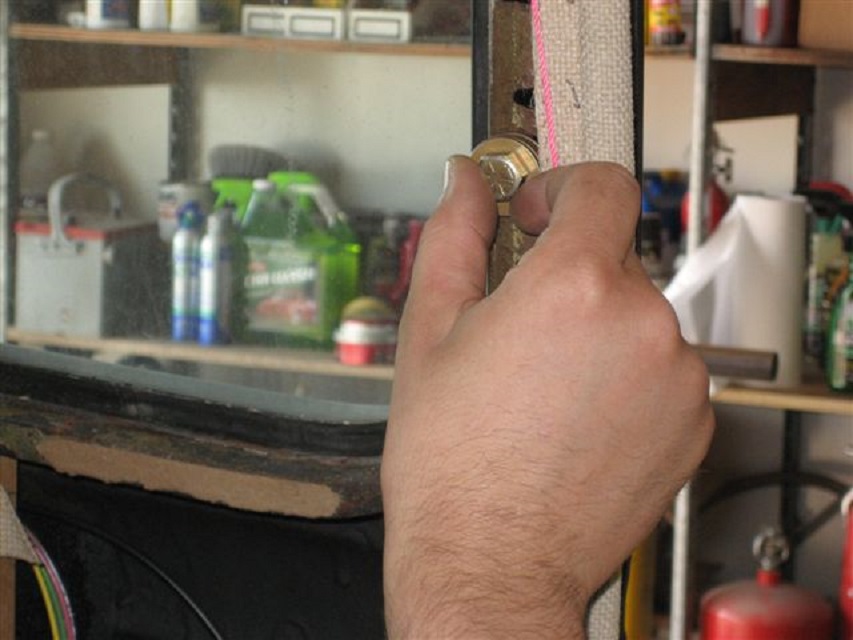
Pull the string up through the
hole until
the threaded hole in the mount is aligned with the hole in the
pillar and install the shoulder bolt to hold it in place.
|
|
|
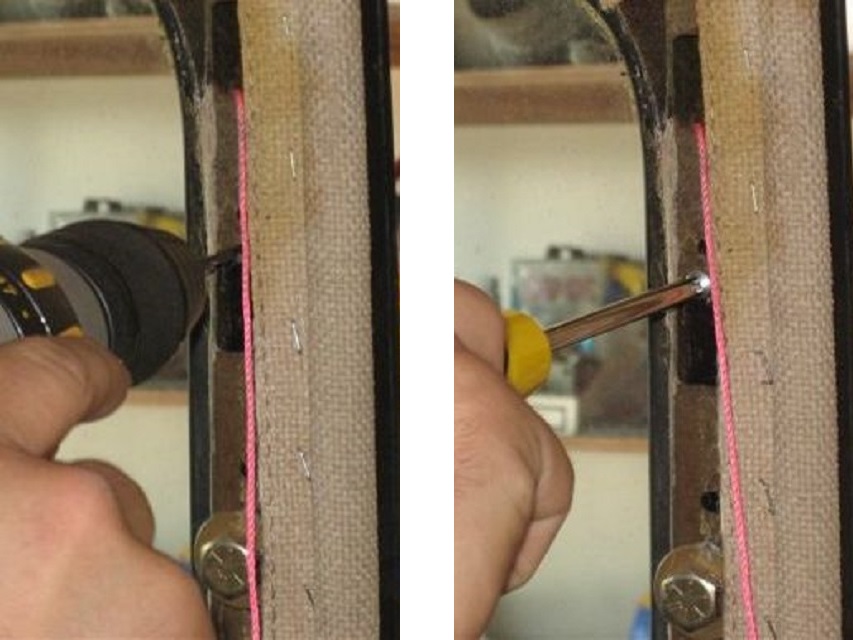
Drill through the pillar and into
the mount so you can install 2 small screws to hold the mount in
place.
|
|
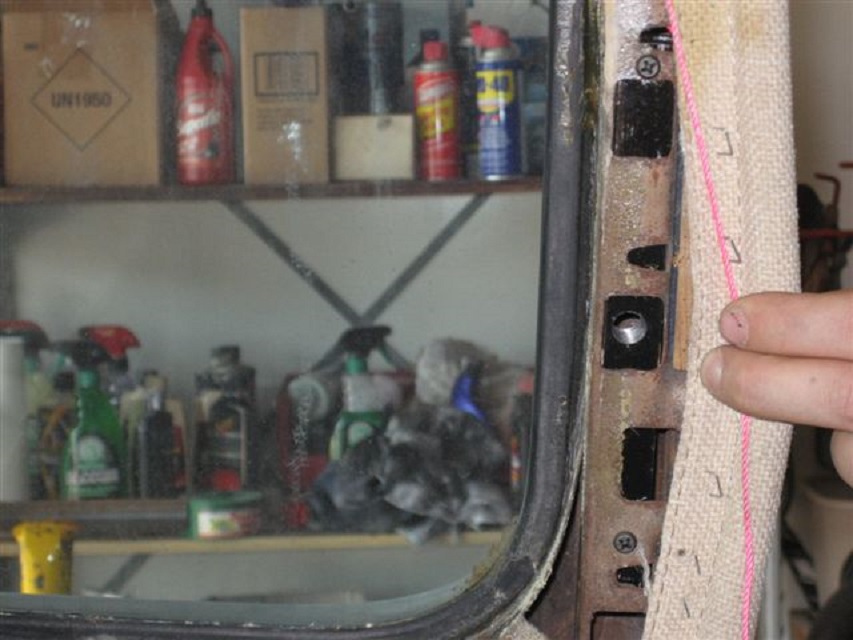
Here is the B-pillar mount
installed.
|
|
|
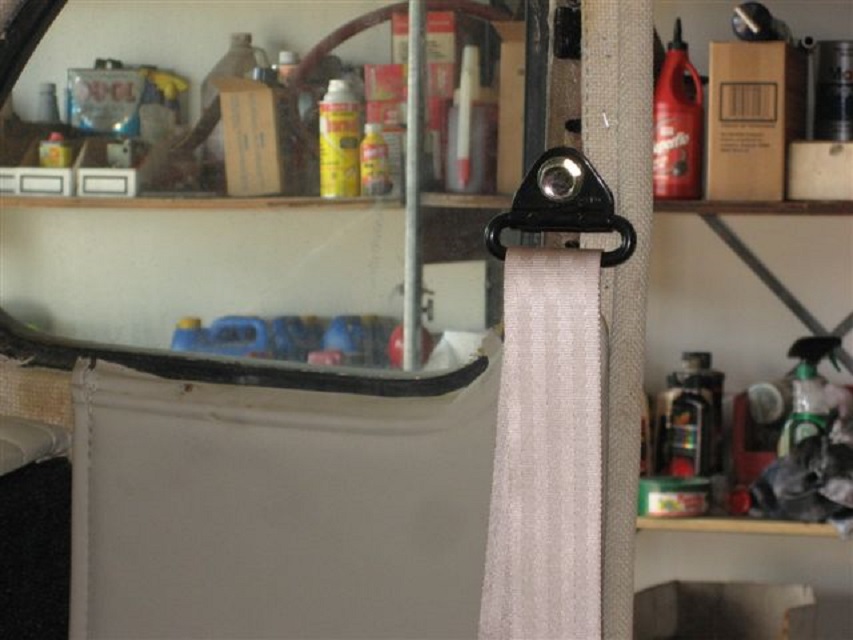
Now bolt the shoulder point in
place
so you can lay out the floor mounting point.
|
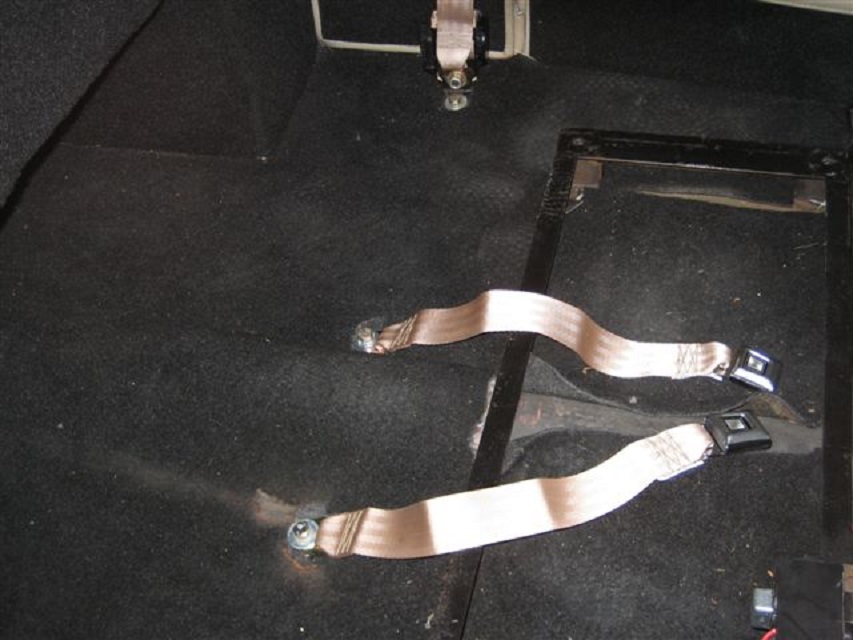
Since this car already had lap belts in it, we used
those mounting points on the floor to attach the retractor
mechanism.
|
|
|
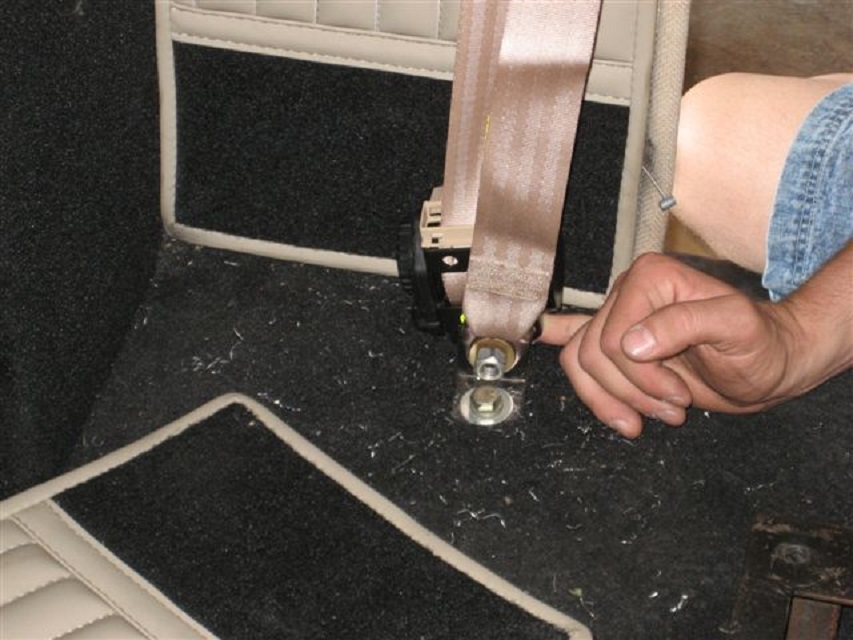
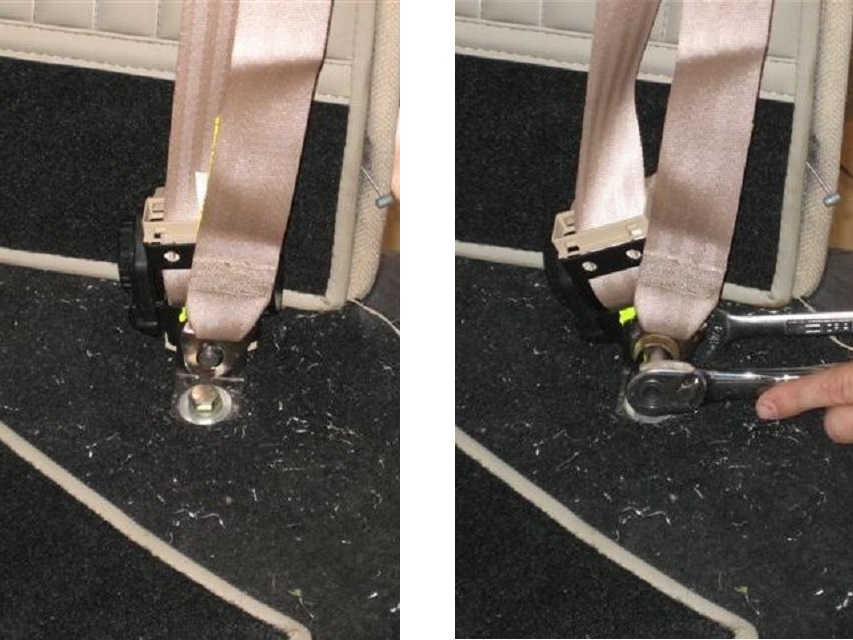
Next put the opposite end of the belt on the bolt
and tighten in place.
|
|
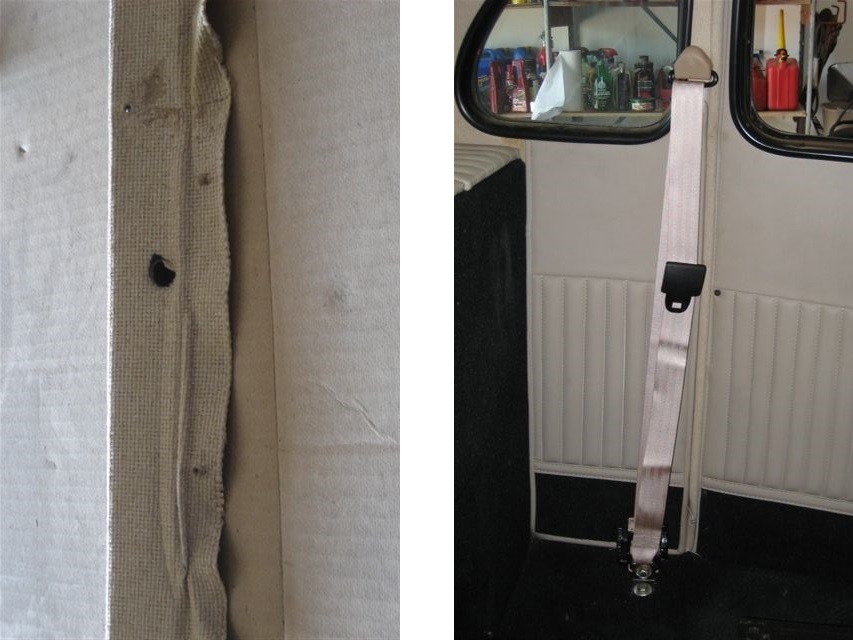
Remove the top mount and layout upholstery to modify it for the top
mount. Re-assemble with the upholstery in place and
install plastic covers.
|
|
|
|
Now install the inboard soft arms.
If
your car didn't have belts in it, you will need to put the seat
back in to lay these out. Always be sure to check below the car
to be sure there are no obstructions under the floor pan.
|
|