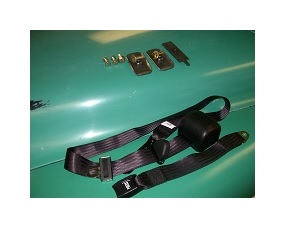
Step 1 These are all the parts included with the Juliano's seat belt kit. Take some time to familiarize yourself with the parts as well as the instructions.
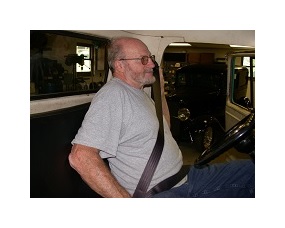
Step 2 Start by locating the shoulder point by holding the belt across your chest and adjusting it up and down to find a comfortable spot just above your shoulder and mark it.
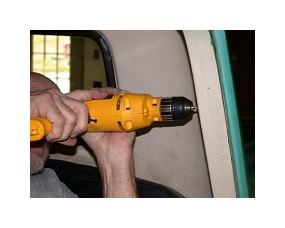
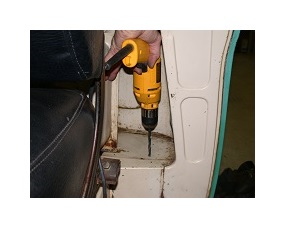
Step 3 Drill a 7/16" hole to accommodate the shoulder bolt.
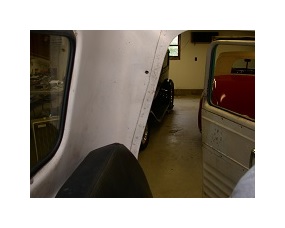
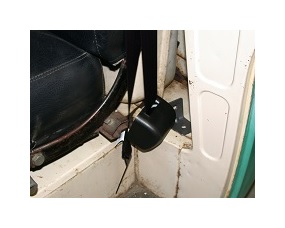
Step 4 Here is the hole. We kept it close to the door jamb to provide some extra strength.
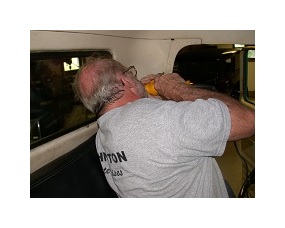
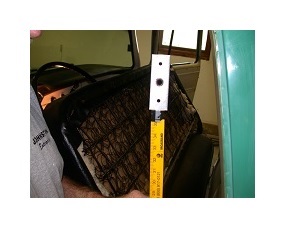
Step 5 Tape the tab of the B-Pillar bracket to the end of a flexible yardstick. This will enable you to feed the bracket up into the cab corner.
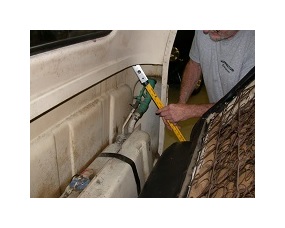
Step 6 Feed the B-Pillar bracket up into the cab corner.
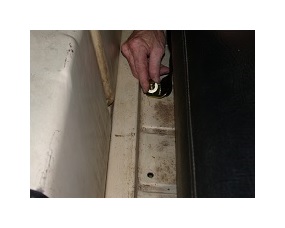
Step 7 Align the threaded hole in the bracket with the hole and thread the shoulder bolt into it.
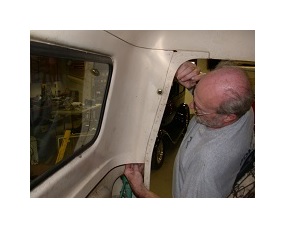
Step 8 Tighten the bolt and remove the yardstick.
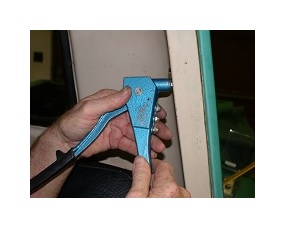
Step 9 Drill an 1/8" hole just below the bolt.
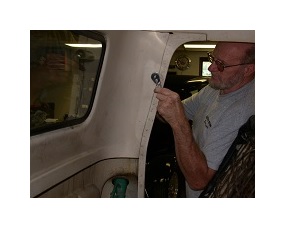
Step 10 Insert a pop rivet to hold the plate in place when the bolt is removed.
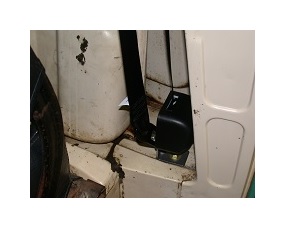
Step 11 Remove the bolt and insert the shoulder point of the seat belt and tighten.
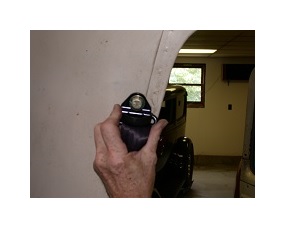
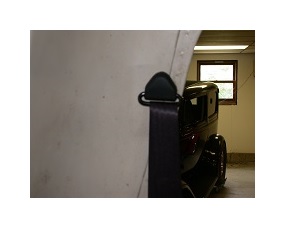
Step 12 Carefully install the plastic cover.
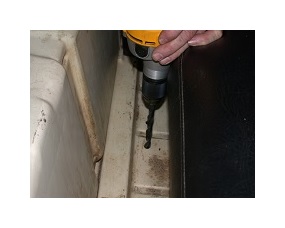
Step 13 Layout and mark the hole for the L bracket in the corner of the cab. Be sure to check under the cab for obstructions before drilling.
Step 14 Drill a 7/16" hole for L-Bracket.
Step 15 Place an anchor plate under the cab floor and install the L-Bracket tightening it in place.
Step 16 Install the retractor as shown with the black slotted bracket behind it. Use the 1" bolt with lock nut to tighten in place.
Step 17 Layout and drill two 7/16" holes toward the center of the cab for the inboard floppy arms.
Step 18 Tighten the arms in place, using anchor plates under the floor for reinforcement.