Installing our 3-Point Shoulder Harness in a 1956 Chevy Pickup
Step 1:
Here is our 3-Point sholder harness for a bench seat along with the
installation hardware.
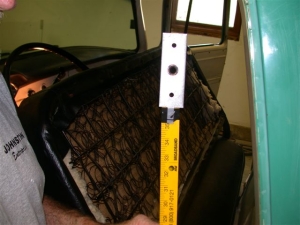
Step 2:
The first step is to locate the mounting spot for the shoulder point.
This can be done by sitting in the seat and holding the belt across
your chest and sliding the point around until it is in a comfortable
position at or above your shoulder.
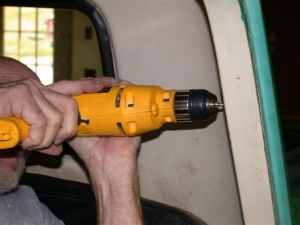
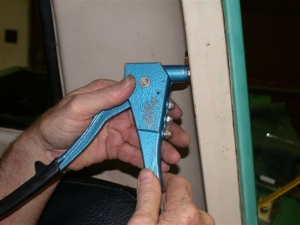
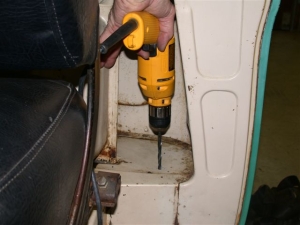
Step 3:
Next, drill a hole to accommadate the 7/16" sholder bolt included in
the hardware kit.
Step 4:
Now tape the b-pillar bracket to a yard stick or something similar so
you can feed it up behind the inner skin of the cab.
Step 5:
Next feed the bracket up behind the inner skin and align the larger
hole in the center with your hole.
Step 6:
Install the shoulder bolt to hold the bracket in place and gently tug
on the yard stick to remove it from the bracket.
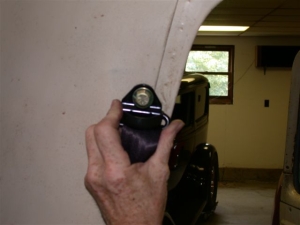
Step 7:
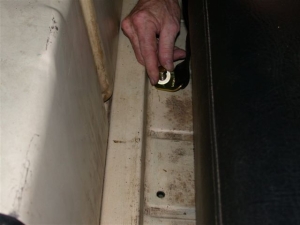
Drill a 1/8” hole just below the shoulder bolt.
Step 8:
Install a pop rivet to hold the bracket in place during assembly of the
shoulder point.
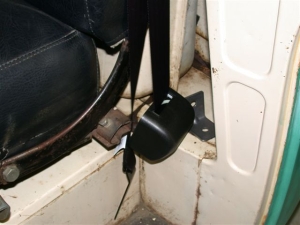
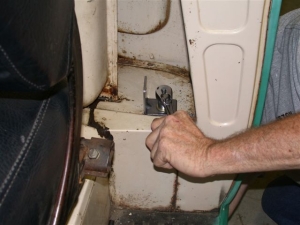
Step 9:
Remove the shoulder bolt and re-install with the shoulder point of the
seat belt
and tighten. The D-ring should pivot.
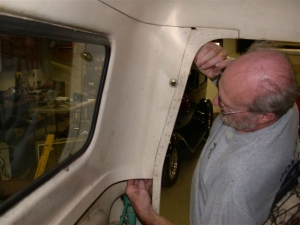
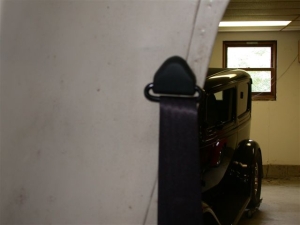
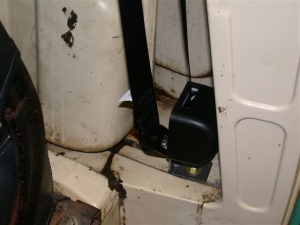
Step 10:
Install the plastic cover to finish it off.
Step 11:
Position the retractor and L-bracket in the cab corner and mark the
location to
drill for the anchor point.
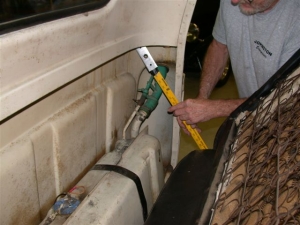
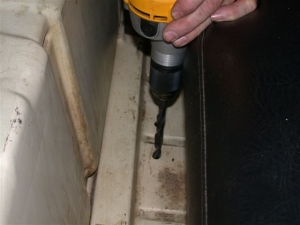
Step 12:
Before drilling take a look underneath and be sure that you have a
clear spot the
size of the anchor plate; then drill your hole.
Step 13:
Bolt the L-bracket in place with the anchor plate under the floor with
the weld nut toward the ground.
Step 14:
Bolt the retractor and back bracket on the opposite end of the belt and
tighten in place.
Step 15:
Lay out and drill the holes for the inboard arms. Again check for
clearance underneath before drilling.
Step 16:
Bolt the arms down with an anchor plate underneath the floor with the
weld nut toward the ground.